

Patagonia has harsh, unpredictable weather, but that only seems to add to its spectacular, rugged landscapes. Torres del Paine National Park in Chile is one of the most popular trekking destinations in this region, and after you see these views, you will understand why. The O Circuit Trek encircles Paine Massif and takes you through the wild and remote backcountry that not many visitors get to see. In this post, we’ll show you the scenery and offer a few tips, so you can trek the O Circuit too.
Updated in 2026
O Circuit Route
The most popular trekking route in the park is the W Route (Orange in the map). The less popular, more rugged way to explore the park is to do the whole loop that encircles the massif (Red in the map). Of course, it was this description that enticed us to complete the loop.
Distance – 135 km (84 mi); Elevation Gain/Loss – up to 5,000 m (16,400ft); Days – 6 to 10 days.

As we neared the entrance of Parque Nacional Torres del Paine, the amazing mountain landscapes started to appear. Tall snow-capped peaks stood high across the grassy hills. While we stared out the window, a flock of Lesser Rheas, a Patagonian emu, ran beside the road. When we got off the bus at Laguna Amarga Ranger Station, we saw guanacos near the river. If we didn’t think so before, we knew then that this was going to be a great hike.
Tip – Torres del Paine is a 2-hour drive from Puerto Natales, so if you take the first bus at 7 am, you can begin hiking on the same day. There are three entrances to Torres del Paine National Park. To do this hike, you need to use the Laguna Amarga Park Gate, where there is a Ranger Station. After checking in at the ranger station, you can take a park shuttle to the trailhead at the Welcome Centre.


The O Circuit circumnavigates Macizo Paine (Paine Massif) in a counterclockwise direction. When we did the hike, it began at the park gates, but now the trailhead is at the Welcome Centre (details below).
The trail begins by following the Rio Paine (Blue River) climbing over hills that are covered in unusual brush, trees and flowers. Unfortunately for us, the clouds hung low so we couldn’t see much in any direction, and it rained for the first two days. The park is renowned for its awful weather, so you should be prepared for this to happen to you as well.


The O Circuit is an undulating trail for much of its length. We hiked up 200 m, down 200 m, up 300 m, down 100 m. After several hours of trekking this tiresome route over two days, we were finally treated to a great view of Lago Dickson. The large lake was very calm, only disturbed by the ice calving off its glacier. If you’re lucky, you will see icebergs floating on the lake.


The skies were still filled with clouds as we began hiking the next day. Maybe they were foreshadowing the upcoming hike because it turned out to be the most difficult and least pleasant of the entire circuit. The trail begins by following the wild Rio de los Perros (River of the Dogs). The legend says that the river received its name after a shepherd’s dogs drowned in the fast-moving river. As we crossed the rushing river on a rickety suspension bridge, we hoped the bridge would hold and we wouldn’t be joining those dogs.
Shortly after crossing the bridge, the trail goes through a large peat bog. There didn’t seem to be a trail and we couldn’t find a place to put our foot without sinking into the spongy, muddy ground. We attempted several different ways to avoid it, but each attempt landed us in a worse situation.


Finally, we made it to the other side of the bog, but our feet were soaked. After wringing out our socks, we began to ascend through a sparse lenga forest. Thankfully, the clouds lifted for a while and allowed us to see the tall peaks all around and their glacier lakes below.
When the forest ended, the trail turned into a long, slow grind up rocky slopes and a moraine ridge to finally reach Paso John Garner (1,180 m/3,870 ft). The barren pass is notorious for having very strong winds, and today was no different. Even after our effort getting to it, the winds meant we didn’t stay long. From the pass, we had a quick look at the impressive Glacier Grey (Ventisquero Grey) before descending through the trees.
Note – Sadly, in 2025, a sudden storm resulted in the death of 5 hikers on the pass. To prevent more accidents, it is essential that hikers pay attention to the weather forecasts and have backcountry experience. Do not continue when conditions are unsafe, and do not rely on a quick rescue from the park.


After the pass, the trail quickly descends the slope between tightly spaced lenga trees, twisted from the constant strong winds. This was one of the most treacherous parts of the hike. Since it had been raining for days, the trail was very muddy. To make it worse, the trail goes from being steep to dropping almost straight downhill. We had to grab onto tree limbs with both hands to prevent us from sliding all the way down. Take care when descending this section.
Glacier Grey is a massive ice field. We thought we were able to see most of it from the pass, but when we reached the lower section of the trail, we realized we had only seen a fraction of the ice sheet. It turned out that a large rocky island was blocking our view of the other side. We stopped for a while to watch in amazement as huge sections of the glacier calved into the lake. Once the ice dropped into the lake, they were quickly blown to the opposite shore from the stong wind.
Arriving at the Glacier Grey Lookout meant we had joined the W Route. Things were sure to get easier.


Finally, once we reached the bottom of the hill, we had incredible views of Cuernos del Paine behind Lago Pehoe. Its majestic granite spires and distinctive black shale horns (cuernos) make it a uniquely beautiful mountain. This is one of the views we had been expectantly waiting for.


The next highly anticipated stop was the side trail to Mirador Cuernos del Paine. The trail first travels through low bush, allowing us to have a close-up view of the mountain. Then, it’s a steep hike up moraine and boulder fields for a view of the mountain’s sheer granite walls beneath the unmistakable black horns.


Continue hiking up Frances River Valley to Britanico Lookout, where you will be surrounded by a small cirque of granite spires. As you head back down the long valley, the beautiful blue water of Lago Nordenskjold completes the scene.


The Curenos still towered above as we skirted the side of Lago Nordenskjold, on the W Route. The wind was very intense on this part of the trail. It was so fierce that it blew water across the lake, like horizontal rain!
This lakeside trail feels very long, with a lot of climbing up and down as it crosses many side gorges. It took away almost all of our steam, but we were energized when we saw the most famous peaks in the park. Ahead of us the tall, imposing spires of Torres del Paine stood proudly above the grassy fields. It was a preview of our views the next day.


Torres del Paine Lookout
The final day of the O and W Routes takes you to the Base of Torres del Paine. The first time we did this hike, it was raining. We revisited this trail in 2026 and were treated to wonderful blue skies, so we could finally see these granite spires at their finest.
When taking the W Route (or O Circut), there is a short cut to the Base of Torres Trail. Do not hike down to the Welcome Centre. Once you join the main trail, it climbs up the Ascensio Valley, and offers glimpses of the tips of the famous towers.


The final stretch is a grunt of a climb up the moraine to finally reach Laguna Torres, perfectly placed under the sheer granite walls of Torres del Paine.
You can read more details on this side trail to Torres del Paine Lookout in our post Torres del Paine Hiking Guide.


Trek details O Circuit Route – This is a 6 to 10 day trek and covers approximately 135 km (84 mi). There is a lot of elevation gain and loss every day on the constantly undulating trail. We didn’t measure it exactly, but other reports say there is over 5,000 m (16,400ft) of elevation gain and loss on the circuit. The trails are well-marked and easy to follow, except for the marshy area near Lago Dickson.
Trek details Torres del Paine Lookout Trek – Although it is a part of the W Route, the hike to Torres del Paine Base can also be done as a day hike. It will take approximately 5 – 6 hours return from Las Torres Campground, or the Welcome Centre. The trail is well-marked and easy to follow.

We have done other hikes in both Argentina and Chile. You can find those and more under Trek-Bike-Ski, or go directly to Argentina’s Refugio Frey and Cerro Lloa Llao, Cerro Torre, Monte Fitz Roy, Iruya and Aconcagua. And Chile’s Torres del Paine.
Tips for visiting Torres del Paine National Park
Unless you have a car or are hiking the W or O multi-day routes, Torres del Paine is not really set up for independent travellers. To make the most of your time at the park, you will need to plan ahead.
• Park fees can be purchased online here.
• There are three park gates: Laguna Amarga, Serrano, and Lago Sarmiento. Use Laguna Amarga to hike to the Base of Torres del Paine.
• To reach the park, you can take a bus from Puerto Natales, where there are several companies to choose from. Most drop you off at Larguna Amarga Park Office, but BusSur also drops off and picks up at Pudeto, Pehoe and Hotel Lago Grey.
• To reach the trailheads for Torres del Paine or the O Circuit Hikes, you can take the park’s shuttle from Laguna Amarga to the Welcome Centre. It only does the route 5 times a day, so you need to know its schedule. The first one in the morning matches the early bus from Puerto Natales. The schedule for return trips can be found in the Welcome Centre. The shuttle fee is paid in cash to the driver.
• To reach other day hikes or viewpoints not listed in this post, you need to either have a car or take a tour. The roads are gravel, though, so make sure you are comfortable on mountain roads.
• There is very little mobile connectivity, no ATMS or gas stations in the park, so come prepared.
Where to stay
Whether you’re doing the O or W Routes, there are many campgrounds and refugios on the treks, allowing you to choose how many days you want to spend. We brought our own meals, but you can purchase meals at the refugios. Even though they are very rustic, refugio prices are quite high. Some campgrounds rent tents so you don’t have to carry one if you don’t want.
Note: You must make reservations in advance for all campsites and refugios that you intend to use. Therefore, decide on your route and exact dates before you book. You need to carry a copy of your reservation with you on the trek.
Before and after the hike, you will usually need to spend a night in Puerto Natales. There are many hotels and hostels in the city, but expect prices to be higher than in other parts of Chile.
When to trek
The summer trekking season runs from December until early March. It’s possible to trek in the spring and fall but it will be colder. We were there in December and the skies were usually covered in cloud. The O Route is closed between May 1 – Oct 31st.

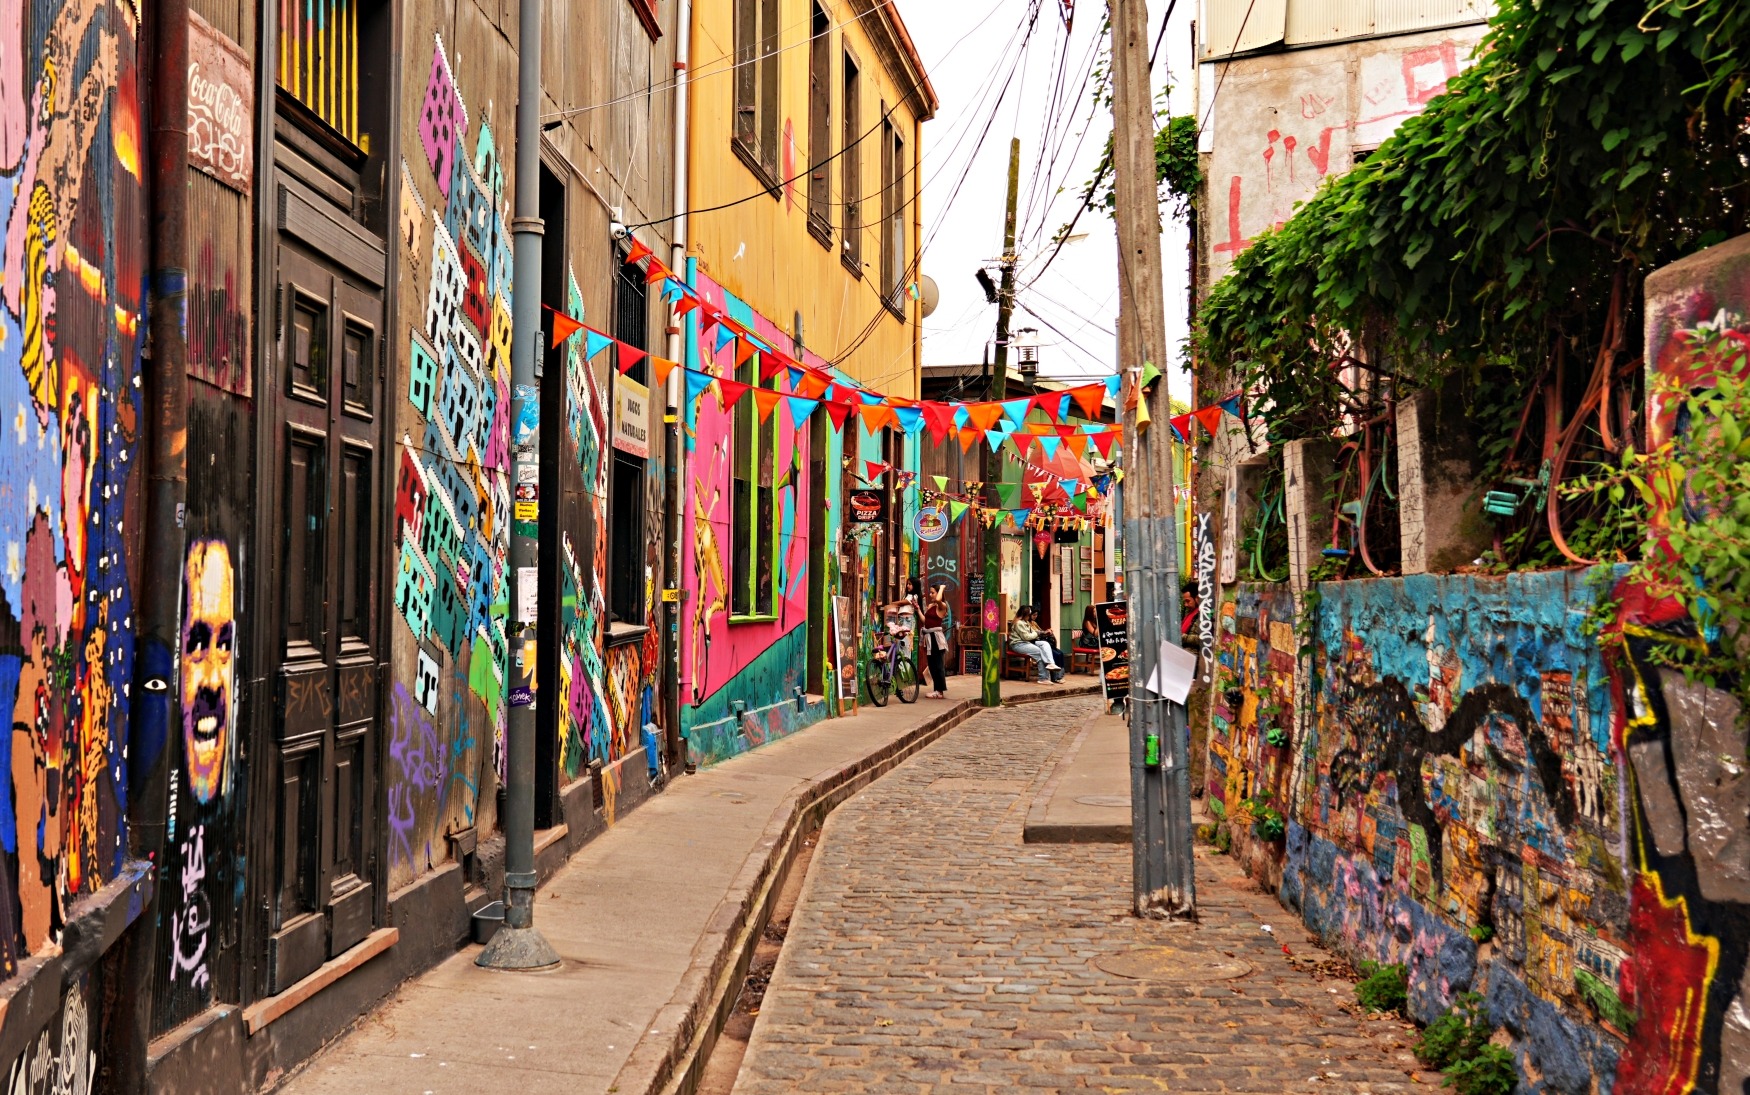
To read more of our posts from Chile, click here.
Coming Next – Trekking Guide for Torres del Paine Base
For pictures from other blogs go to Gallery at monkeystale.ca
To read about more of our adventures go to Destinations.
If you like what you read, please comment or share (with credit) using the links below.


We'd love to hear from you, please leave a comment.